Connect Zigbee devices with an USB Zigbee dongle and Zigbee2mqtt
In this tutorial we'll show you how to connect your Zigbee devices directly to Gladys, without needing any third-party bridges (just by using an USB Zigbee dongle and Zigbee2Mqtt project).
You can check the list of compatible devices here.
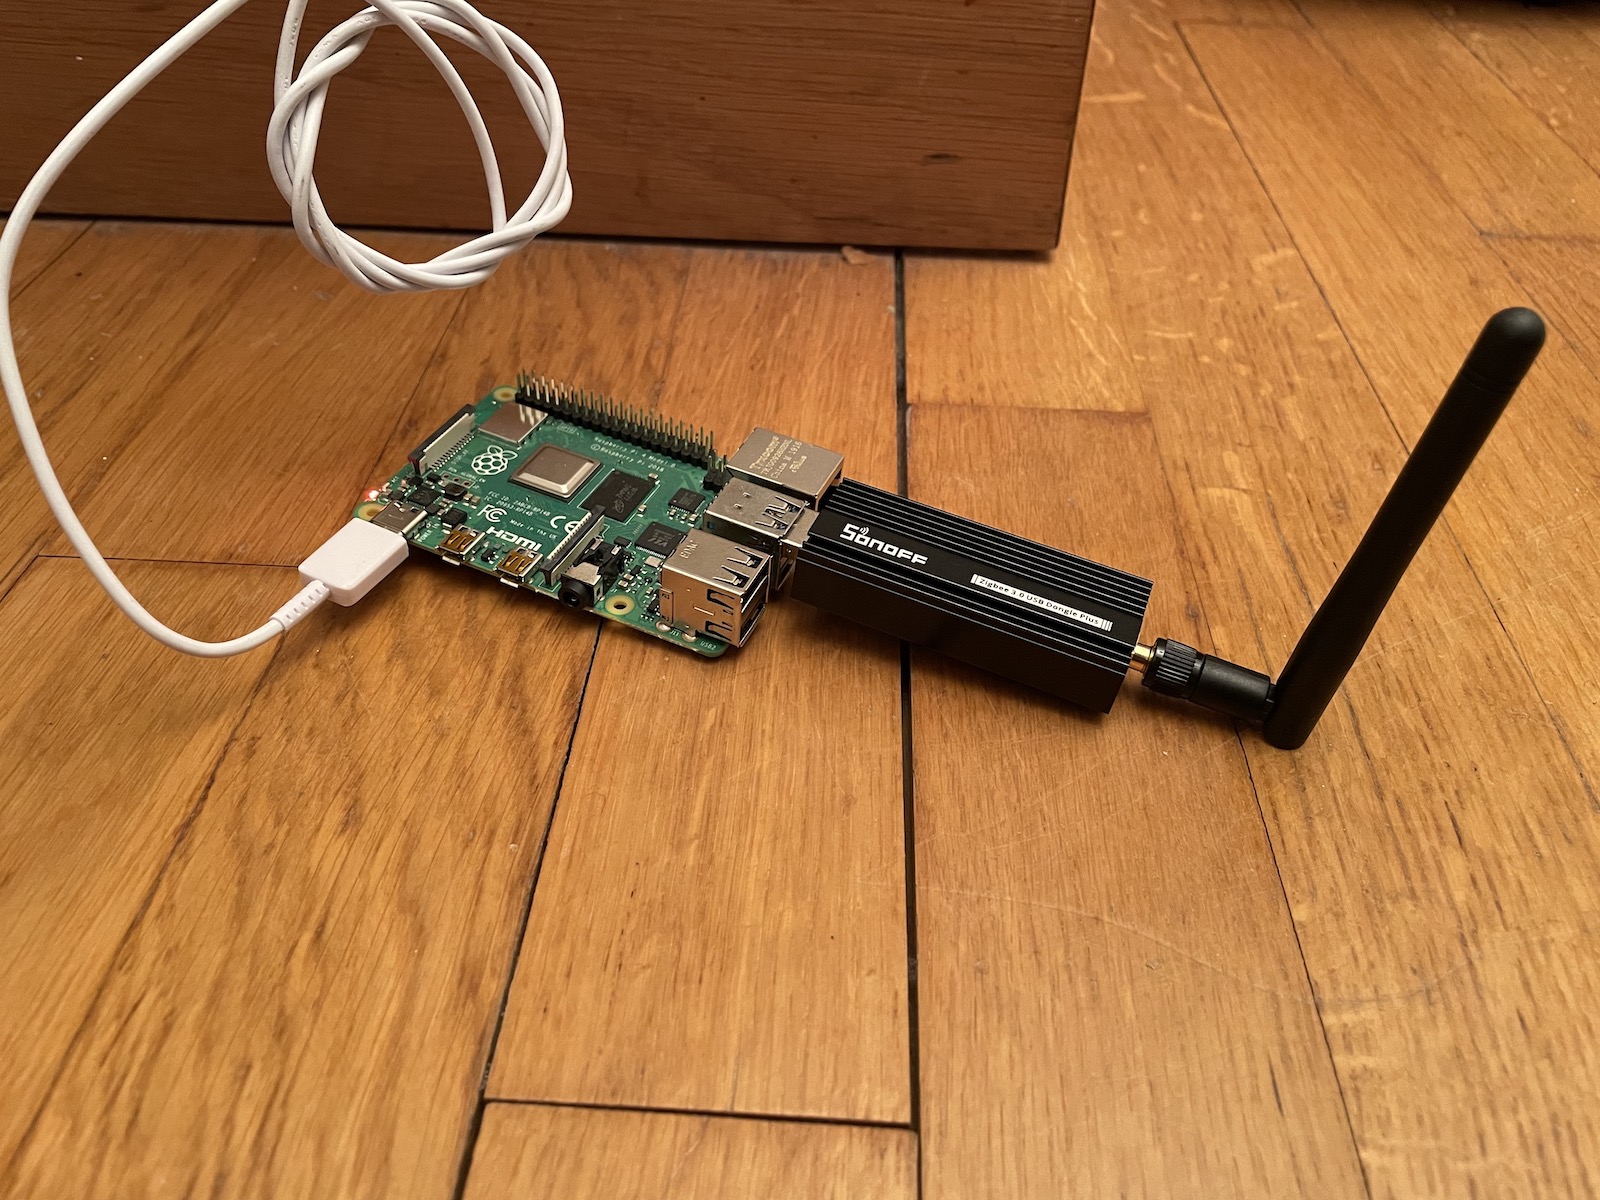
Before you start, make sure you have a USB Zigbee adapter.
An easy & affordable USB dongle we tested with Gladys is the Sonoff Zigbee 3.0 USB dongle.
The full list of compatible adapters can be found on Zigbee2mqtt supported adapters list.
Configure the USB dongle port
Connect your Zigbee USB dongle to your machine running Gladys (your Raspberry Pi, your NAS).

In Gladys, go to Integrations / Zigbee2Mqtt.
Then, click on Settings in the menu. Gladys will automatically scan the different USB ports to suggest a drop-down list.
Select the settings the USB port is to use in order to allow Gladys to communicate with Zigbee.

If you run Gladys on an external disk connected in USB, you may have power issues as your Pi can struggle to give enough power to both the disk and the Zigbee USB key.
We recommend you use a externaly powered USB charging tower.
You can read more about it on ZigbeeMQTT website: Zigbee2MQTT fails to start
Activate Zigbee2Mqtt
Once your dongle is configured, Gladys needs to install two containers (MQTT and Zigbee2Mqtt) to use the dongle and communicate with all your devices. Don't worry, all this has been automated.
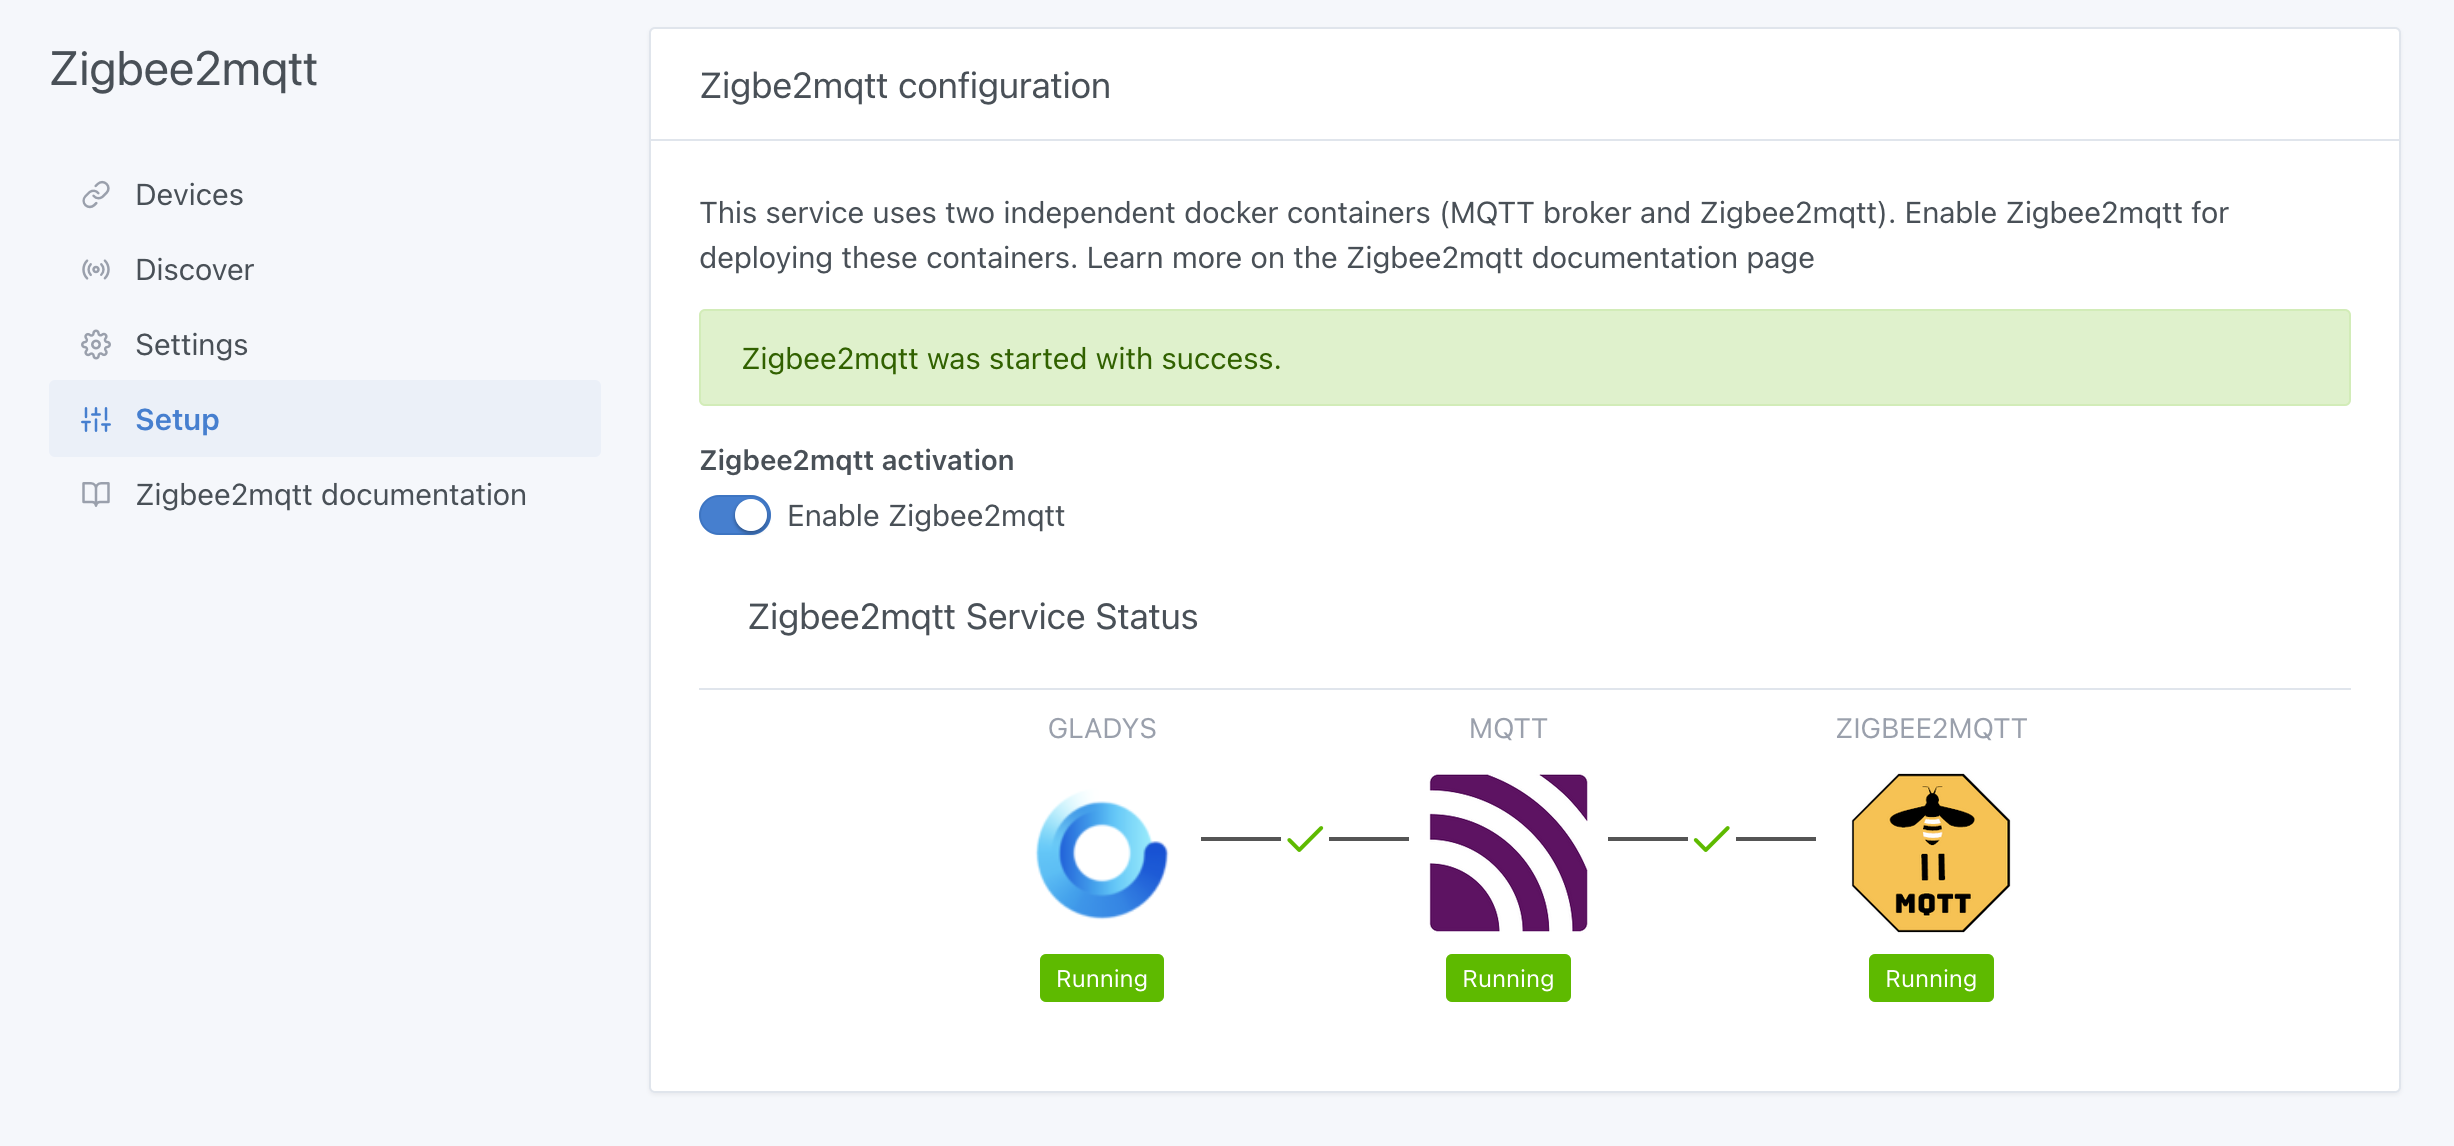
Go to the Setup section and click on the Enable Zigbee2mqtt button. After a few moments (the waiting time depends on your Raspberry Pi model and your bandwidth), you should see all the elements started and the links between each one green.

Allow device association
To allow devices to be associated to your Zigbee network, you must allow joining in the Zigbee configuration.
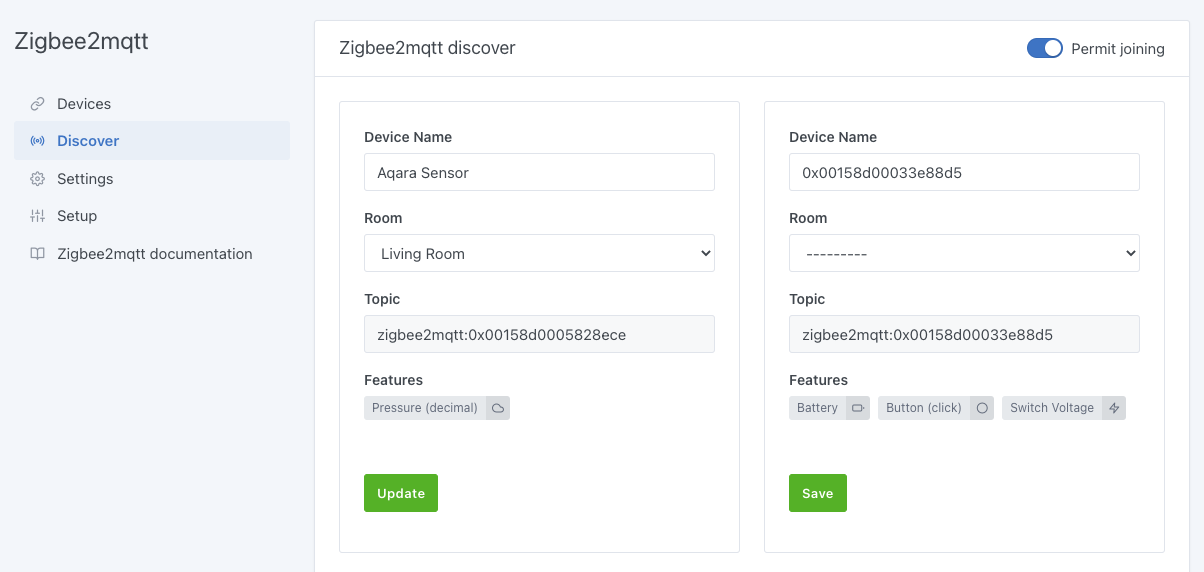
Click on the Discover menu, then click on the Permit joining button.

⚠️ Once your devices are associated, you will have to come back here to forbid the association, for security.
Add devices
To make your device join the network, please refer to its manual. In most cases, a long press on the physical button allows this operation.
The devices already associated to your Zigbee network will automatically appear in the list with detected features. You can rename them and associate them to a room using the drop-down list.

Modify the devices
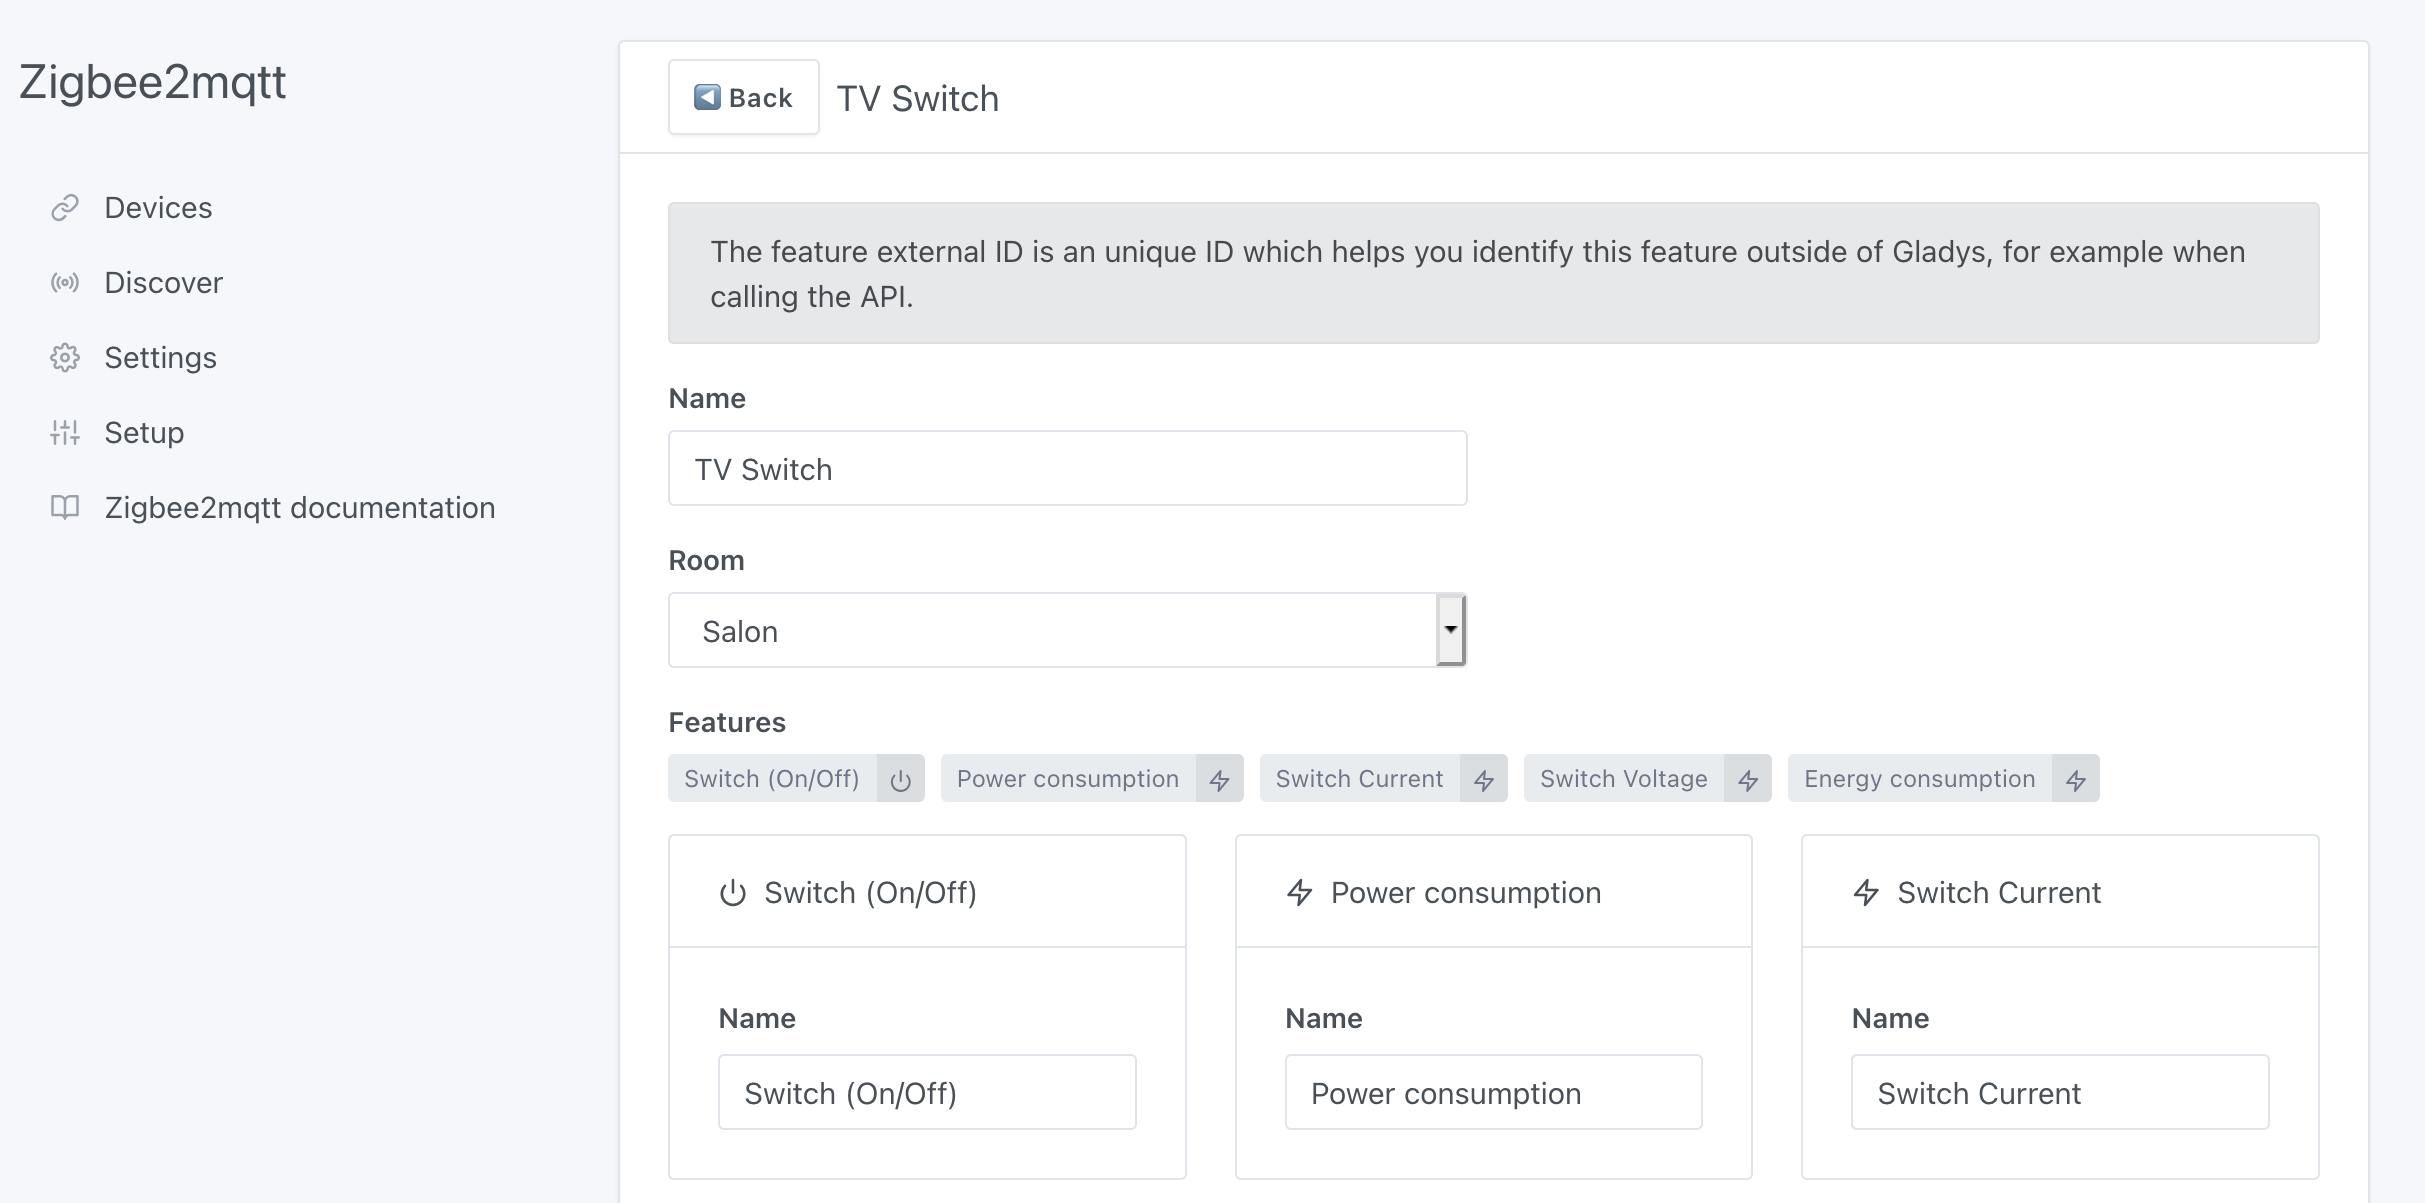
If necessary, you can go to the Devices menu to modify/complete the configuration of your devices.
Click on the Edit button of a device. You can then edit its name, the room it belongs to and the name of each feature.

Usage
You can now use these Zigbee devices from the Dashboard or from the Scenes automatically. Depending on the feature of each device, you will have access to measures, states or actions.