Installation on a Raspberry Pi
If you are looking to install Gladys Assistant on a Raspberry Pi that is already configured, use the Docker tutorial.
With the current Raspberry Pi shortage, a good alternative would be to run Gladys on a mini-PC like a Dell OptiPlex 3040 or an Intel NUC.
Those mini-PC runs natively on a SSD so they are usually very stable to use.
Download Gladys Raspberry Pi OS image
We provide a pre-built Raspberry Pi OS image with Gladys already configured.
For Raspberry Pi 3, 4 & 400:
Download Gladys Assistant OS Bullseye 64-bitFor older Raspberry Pi (Raspberry Pi 1, 2 & Zero):
Download Gladys Assistant OS Bullseye 32-bitThis link will download a .zip file containing the Raspberry Pi OS image of Gladys Assistant. After unzipping the downloaded file, you'll get a .img file.
Clone the image on a SD card
Once you have retrieved the image (.img file described above), you need to clone this image on the Raspberry Pi SD card.
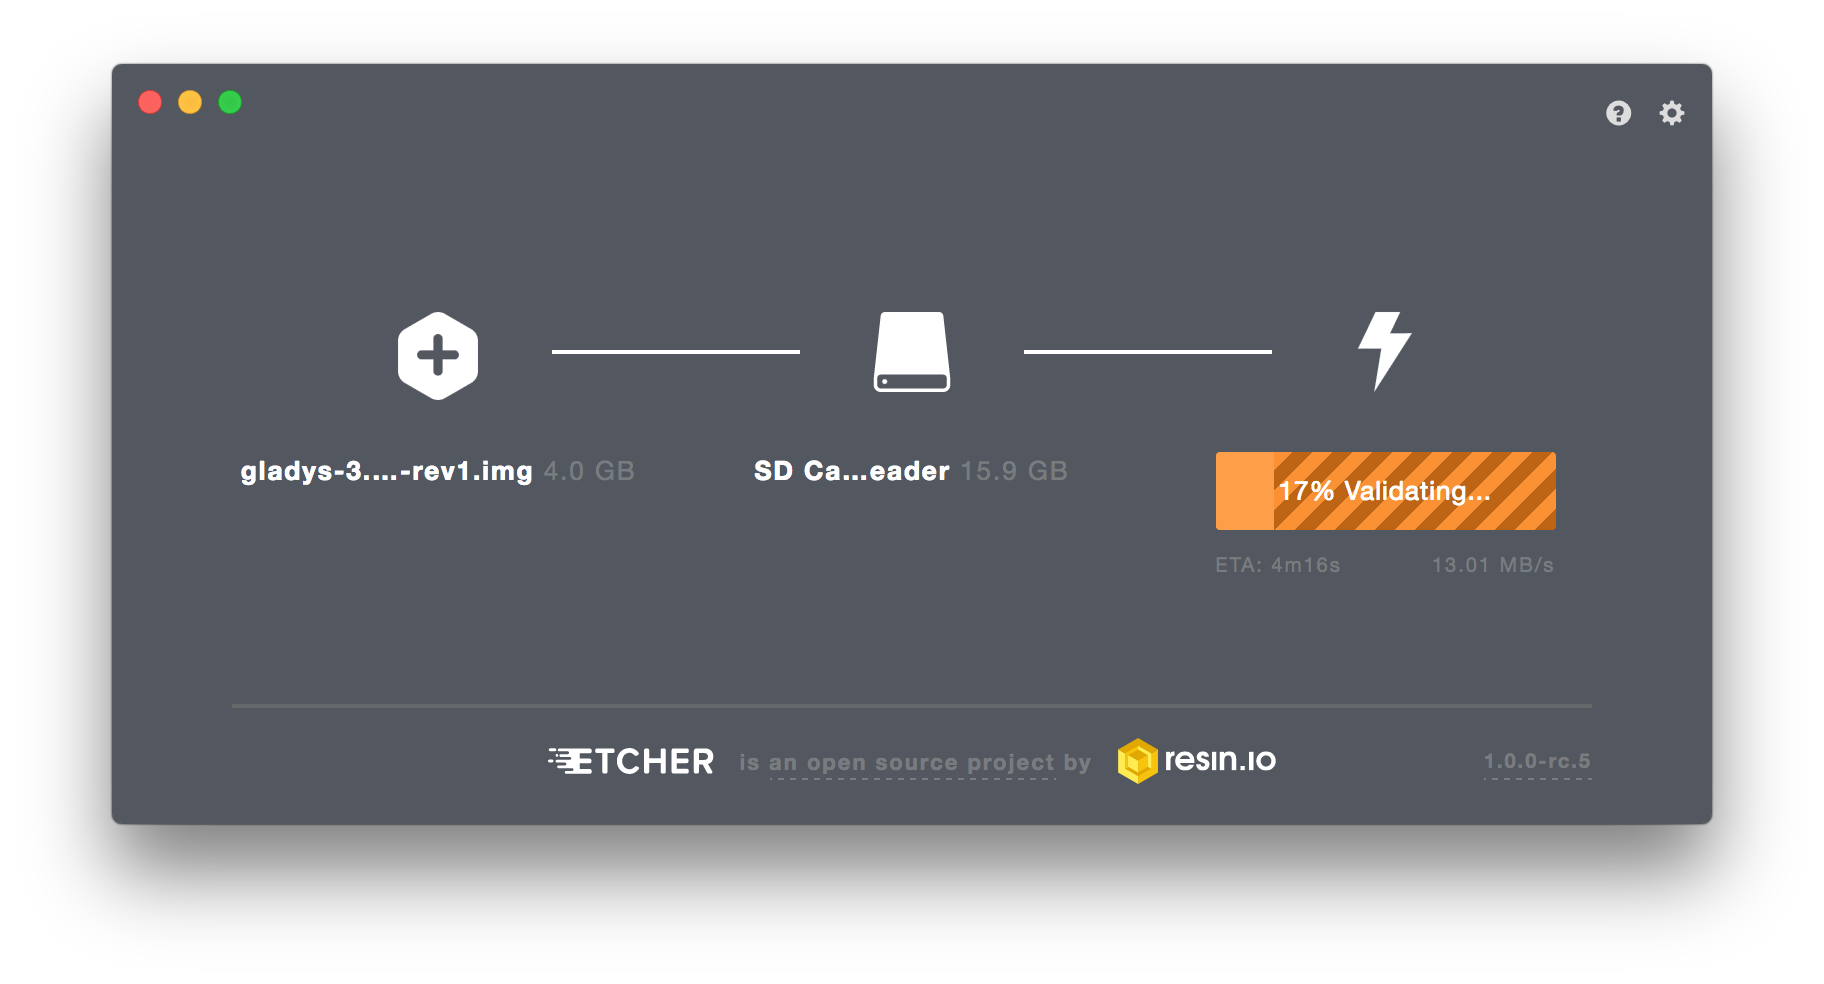
We recommend the software Etcher (Linux/MacOS/Windows compatible).
Install Etcher, plug your SD card into your computer, and clone the .img file on your SD card.

Plug your Raspberry Pi
Plug your Raspberry Pi to your local network. Make sure the power adaptor is connected.
Give it some time to boot.
Access Gladys
To access Gladys, open your web browser on any computer on the local network. /!\ Make sure your computer and your Raspberry Pi are connected to the same network.
Then enter the URL http://gladys.local or http://raspberrypi.local or http://IP_OF_YOUR_RASPBERRY_PI.
You should see the Gladys Web UI (portal).
If you don't see the Gladys login page when typing http://gladys.local in your browser, try typing the IP address of your Raspberry Pi.
💡 To find the right IP address, you can use a network scanner app such as (Network Scanner on Android or iNet on iOS)